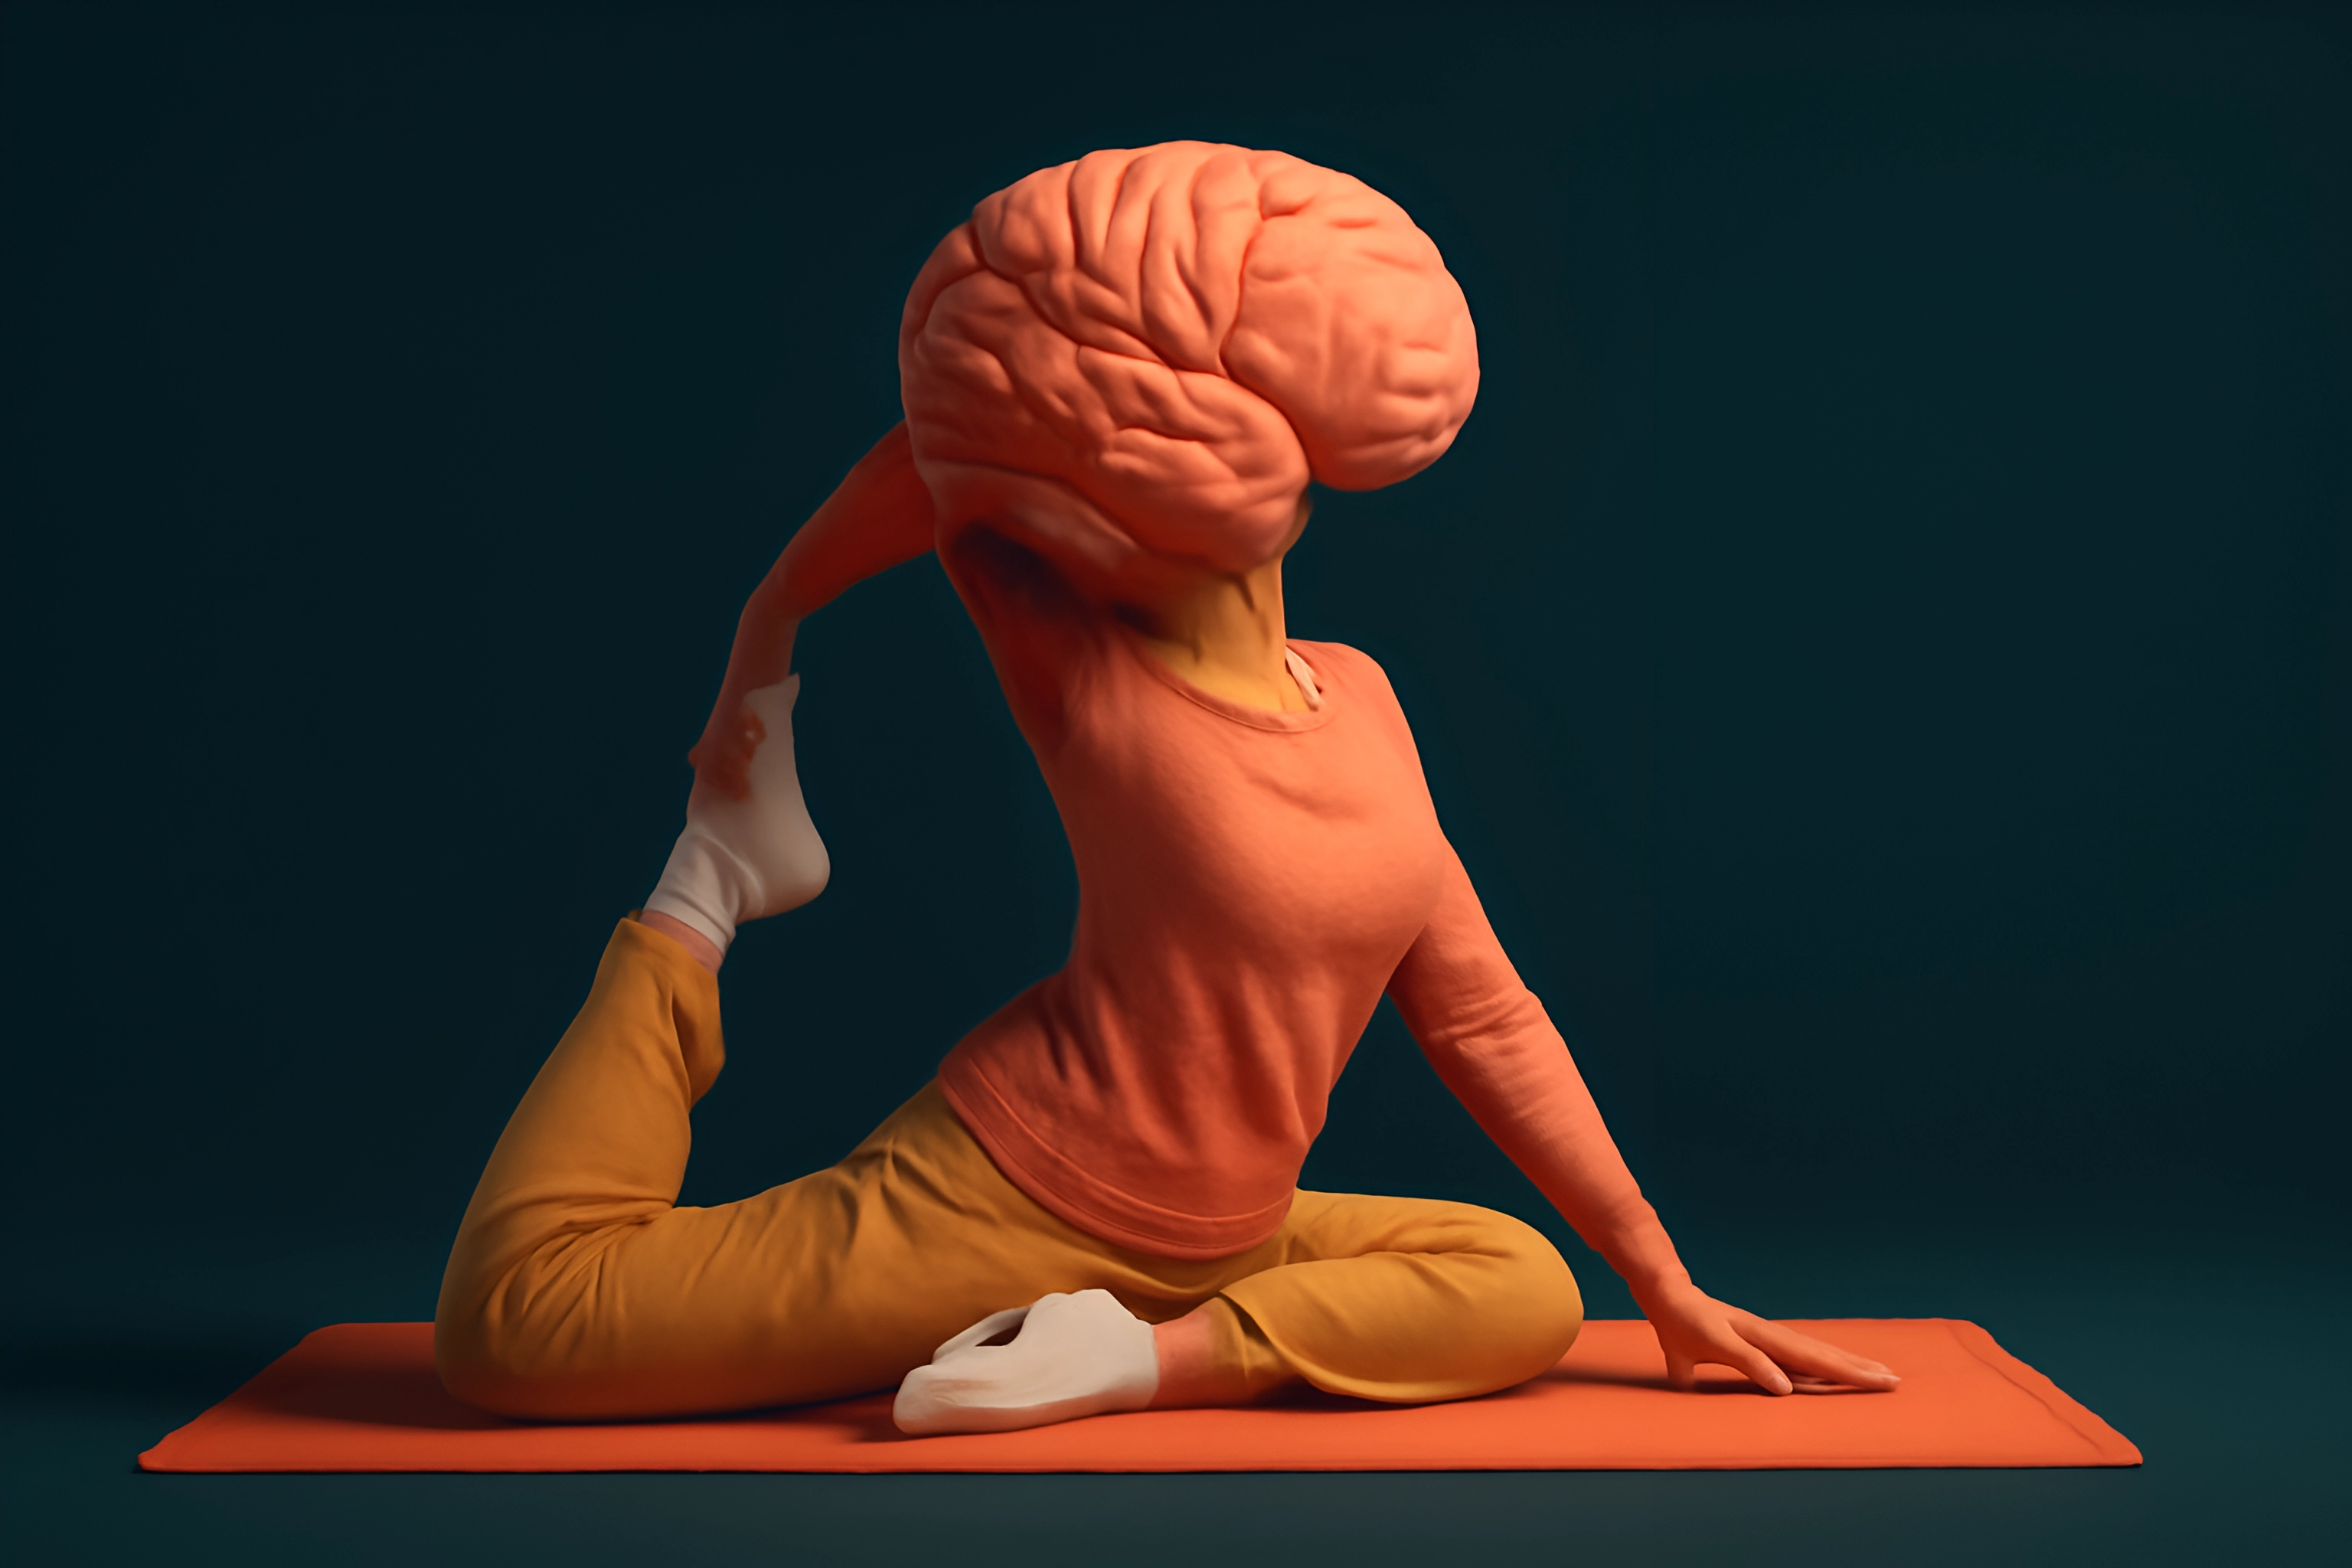


The Simple Secret to Staying Strong and Mobile
Do you ever feel that morning stiffness in your knees or a little less confidence in your balance? You're not alone. It’s a quiet fear that creeps in, making you wonder if you’ll be able to keep up, stay independent, and live life on your own terms.
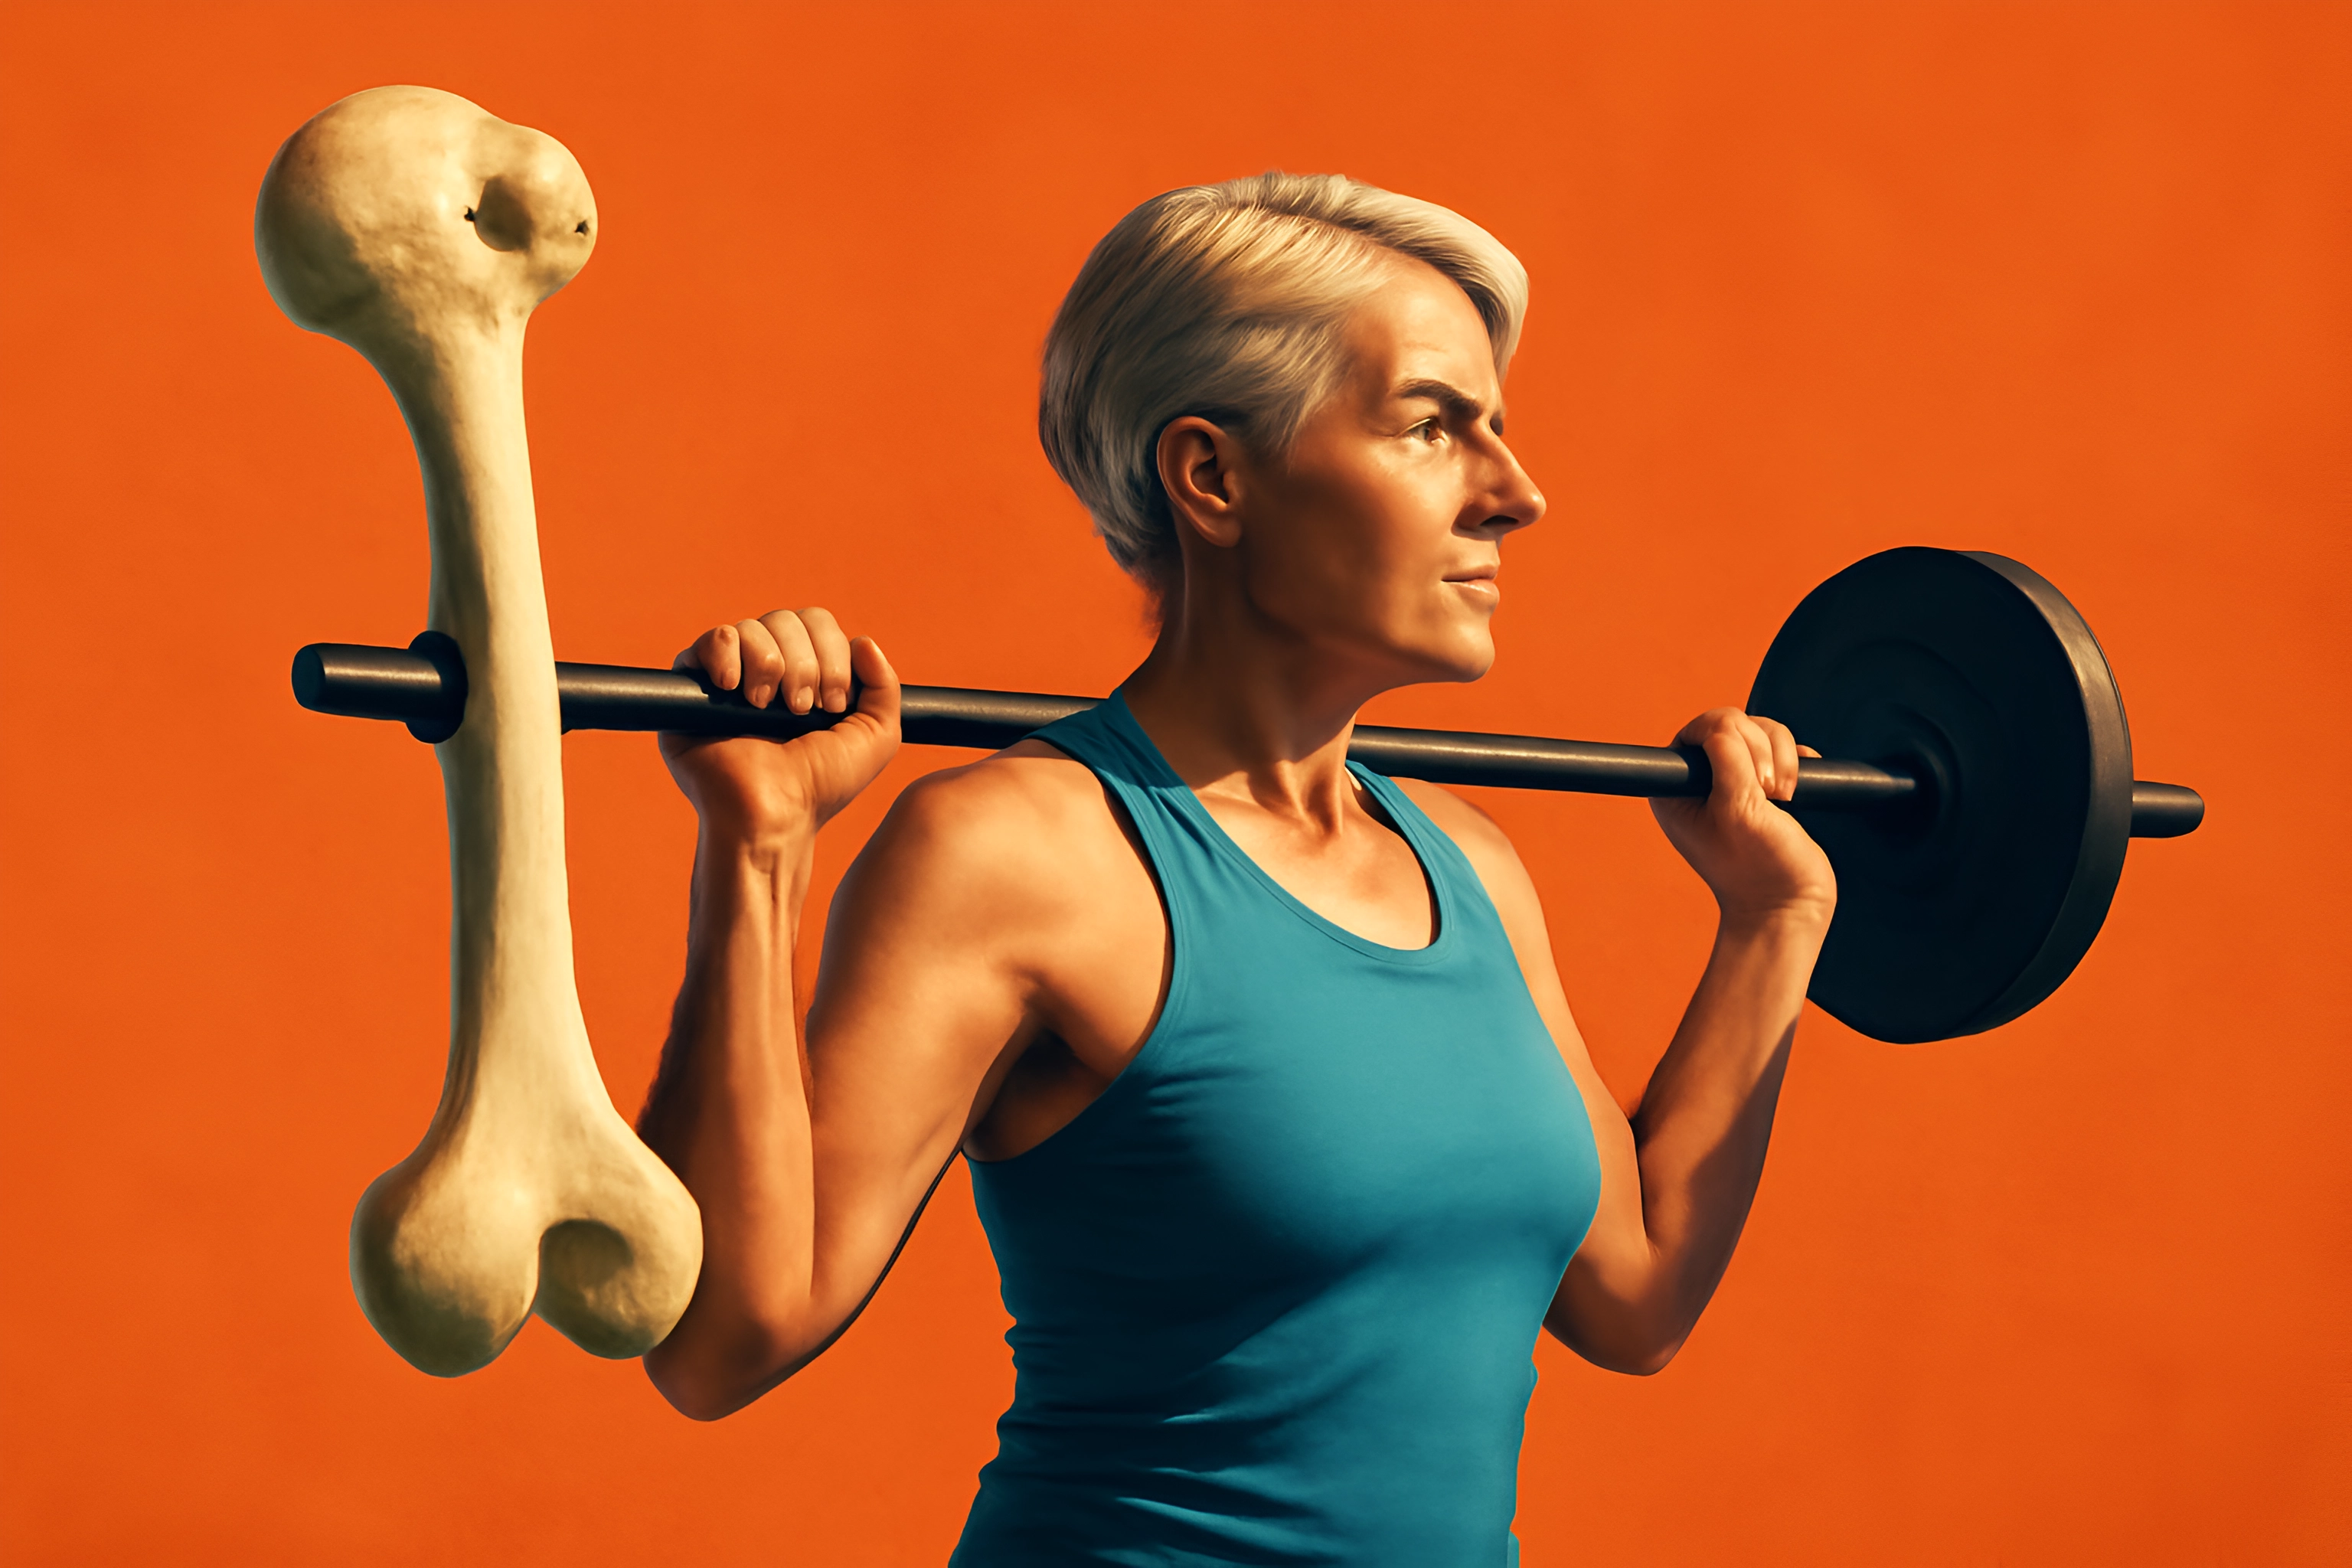
But what if one of the best tools for reclaiming your strength and flexibility wasn't a heavy weight, but a simple, colorful band? Resistance bands are the perfect, low-impact solution for the over-50 body, gentle on your joints but powerful for building the muscle that keeps you vital. They are your secret weapon against the aches and worries that can come with age.
In this complete guide, we'll walk you through everything you need to know about resistance bands for seniors—from choosing the right ones to performing safe and effective exercises that will boost your joint health and overall strength. It's time to feel secure, capable, and in control of your body again.
Why Resistance Bands are a Game-Changer for Over 50 Fitness
So, what makes these simple elastic bands so revolutionary? It’s not magic; it’s science. They are uniquely designed to work with your body, not against it, providing a safe and profoundly effective path to renewed strength.
Gentle on Your Joints, Tough on Muscle Loss
Forget the jarring impact of heavy dumbbells that can leave your joints aching for days. Resistance bands provide smooth, consistent tension throughout every movement. This concept, known as ascending resistance, means the band challenges your muscles more as it stretches, all while reducing the compression and stress on your precious cartilage and ligaments.
This unique quality makes them one of the most powerful senior fitness tools for building muscle without aggravating arthritis or old injuries. In fact, a 2022 study highlighted by the Cleveland Clinic found that resistance bands can be even more effective than free weights for reducing body fat, proving their power. You get all the muscle-building benefits without the painful aftermath.
This is about more than just avoiding pain; it's about actively protecting your future mobility. By strengthening the muscles that support your joints, you create a natural, internal brace that keeps you moving smoothly and confidently. It’s a proactive step toward a life with less pain and more freedom.
Build Functional Strength for Everyday Life
What good is strength if you can't use it? The real goal of over 50 resistance training isn't about looking like a bodybuilder; it's about living a full, independent life. It’s about having the power to lift a bag of groceries out of the car, the stability to get up from a low chair with ease, and the energy to play on the floor with your grandkids.
Resistance band exercises mimic the natural movements you perform every single day. This is what experts call functional fitness, which is key to boosting strength and balance in your daily life. Each row, press, and curl directly translates into more confidence and capability in the real world.
Think of it as training for life itself. You’re not just exercising; you are investing in your ability to remain self-sufficient and engaged. Every repetition is a deposit into your bank of independence.
Improve Balance and Stability
A fall can be life-altering, and the fear of one can be paralyzing, limiting your activities and shrinking your world. Resistance bands are one of your most powerful allies in the fight for stability. They force the small, stabilizing muscles around your hips, knees, and shoulders to fire up and work together.
This isn't just a theory; it's backed by solid research. A study published in the Journal of Physical Therapy Science found that elastic-band resistance exercises significantly improve balance and mobility in the elderly, directly correlating with a reduced risk of falls. The study showed these benefits were achievable even for adults over 90 years old.
By strengthening these crucial support muscles, you build a more stable foundation. You’ll feel more planted, more secure on your feet, and more confident navigating uneven sidewalks or crowded rooms. This is the ultimate form of security—knowing your body can support you.
The Ultimate in Convenience and Affordability
Let's be honest: complicated gym machines and expensive memberships can be intimidating and impractical. Resistance bands cut through all that noise. They are incredibly affordable, lightweight, and portable, meaning you can get a world-class workout in the comfort of your own living room.
You can tuck them into a suitcase when you travel or take them to the park on a sunny day. There are no excuses. This accessibility makes it easier to stay consistent, which is the true secret to long-term results.
This convenience is why bands are a cornerstone of any smart plan for at-home workout equipment for seniors on a budget. You don't need a dedicated home gym to build a stronger, healthier body. All you need is a little space and the right set of bands.
Getting Started: How to Choose the Right Resistance Bands
Walking into the world of resistance bands can feel overwhelming with all the different colors, shapes, and sizes. But it's simpler than it looks. Let's break down exactly what you need to know to choose the perfect tools for your fitness journey.
Know Your Types
Not all bands are created equal. Different types are designed for different purposes, and having a small variety can open up a world of exercise possibilities. Here are the three main types you'll encounter:
Loop Bands (or "Booty Bands")
These are small, continuous loops of thick, durable elastic. They are perfect for placing around your thighs or ankles to target the hips and glutes—muscles that are absolutely essential for stability and power. Think of them for exercises like clamshells and glute bridges.
Tube Bands with Handles
These are long, stretchy tubes with handles on each end. They are incredibly versatile and allow you to mimic many of the movements you'd do with dumbbells or gym machines, like chest presses, bicep curls, and rows. As Healthline's guide for seniors suggests, the handles provide a secure grip, which is especially helpful if you have arthritis or reduced hand strength.
Therapy Bands (Flat Bands)
These are long, thin strips of latex that don't have handles. They offer very light resistance and are often used in physical therapy settings for gentle rehabilitation and mobility work. They are excellent for shoulder exercises and gentle stretching, making them a perfect starting point for anyone new to joint mobility exercises.
Understanding the Colors (Your Guide to Resistance Levels)
Most resistance bands use a color-coded system to indicate their tension level, though it can vary slightly by brand. Generally, the system follows a pattern like this:
- Yellow/Pink: Lightest resistance
- Red/Green: Medium resistance
- Blue/Purple: Heavy resistance
- Black/Gray: Heaviest resistance
The key is to choose a resistance level that challenges you without compromising your form. You should be able to complete a full set of repetitions with control, feeling the muscle work on the last few reps. If you're straining or using momentum, the band is too heavy.
FitOverFifty Pro-Tip: Always start with a lighter band than you think you need. The goal is perfect form, not maximum strain. You can always move up to a heavier band as you get stronger.
The Core Workout: 7 Essential Resistance Band Exercises for Joint Mobility and Strength
Now it's time to put those bands to work. This routine is designed to target the key muscle groups that support your joints, improve your posture, and build functional strength for a more active life.
Crucial Preamble: Safety First!
Before you begin, remember these three golden rules. Your safety is non-negotiable, and these simple steps will ensure your workout is both effective and injury-free. For more detailed advice, explore our guide on gentle workout modifications for seniors recovering from injury.
- Always warm up. Spend five minutes doing light movements like marching in place, arm circles, and gentle torso twists to get your blood flowing and prepare your muscles.
- Focus on slow, controlled movements. Never jerk or snap the band. The magic of resistance bands is in the smooth, continuous tension, so control the movement both on the way out and on the way back.
- Listen to your body. A feeling of muscle fatigue is good; a sharp, stabbing pain is not. If you feel any pain, stop the exercise immediately.
1. Band Pull-Apart
- What It Helps: This is one of the best exercises for correcting rounded shoulders, improving posture, and strengthening the small muscles of your upper back and shoulders.
- Step-by-Step Instructions:
- Stand or sit tall with your feet flat on the floor.
- Hold a therapy band or a light tube band with both hands, palms facing down. Extend your arms straight out in front of you at shoulder height, with your hands about shoulder-width apart.
- Keeping your arms straight, squeeze your shoulder blades together and pull the band apart until your arms are out to your sides.
- Slowly and with control, return to the starting position.
- Modification/Tip: Imagine you are trying to squeeze a pencil between your shoulder blades. This will help you activate the correct muscles.
2. Seated Row
- What It Helps: Builds a strong upper back, which is crucial for good posture and reducing back pain.
- Step-by-Step Instructions:
- Sit on the floor with your legs extended (or on a chair with one foot anchoring the band). Loop the center of a tube band around the soles of your feet.
- Hold a handle in each hand with your palms facing each other. Sit up straight with your back flat and your core engaged.
- Pull the handles back toward your torso, squeezing your shoulder blades together. Keep your elbows tucked in close to your body.
- Pause for a moment, then slowly extend your arms back to the starting position.
- Modification/Tip: To make it easier, loosen your grip and move your hands further down the band. To make it harder, sit on the edge of your chair to engage your core more.
3. Glute Bridge with Band
- What It Helps: Strengthens your glutes and hamstrings, which are essential for hip stability, powerful walking, and getting up from a seated position.
- Step-by-Step Instructions:
- Lie on your back with your knees bent, feet flat on the floor about hip-width apart. Place a loop band around your thighs, just above your knees.
- Press your knees outward slightly to create tension in the band.
- Engage your core and glutes, then lift your hips off the floor until your body forms a straight line from your shoulders to your knees.
- Hold for a second at the top, keeping tension on the band, then slowly lower your hips back down.
- Modification/Tip: Don't let your knees collapse inward at any point. The goal is to keep constant outward pressure on the band.
4. Clamshell
- What It Helps: Specifically targets the hip abductor muscles (gluteus medius), which are critical for stabilizing your pelvis, protecting your lower back, and preventing knee pain.
- Step-by-Step Instructions:
- Lie on your side with your knees bent at a 90-degree angle and your feet stacked on top of each other. Place a loop band around your thighs, just above your knees.
- Rest your head on your bottom arm and use your top arm to stabilize your torso.
- Keeping your feet together and your hips stacked, lift your top knee toward the ceiling as high as you can without rocking your pelvis back.
- Slowly lower your knee back to the starting position. Complete all reps on one side before switching.
- Modification/Tip: This is a small, precise movement. If you feel your whole body moving, you're going too far. Focus on isolating the hip muscle.
5. Seated Leg Press
- What It Helps: Builds strength in your quadriceps and glutes without putting any pressure on your knees, making it a fantastic alternative to squats.
- Step-by-Step Instructions:
- Sit in a sturdy chair, toward the edge. Loop the center of a tube band around the bottom of one foot.
- Hold the handles securely at your hips. Your knee should be bent.
- Slowly press your foot forward and straighten your leg against the band's resistance.
- With control, bend your knee and return to the starting position. Complete all reps on one leg before switching.
- Modification/Tip: For more of a challenge, anchor the band to a sturdy object in front of you (like a heavy table leg) instead of holding the handles.
6. Bicep Curl
- What It Helps: Strengthens the biceps, the muscles you use for lifting and carrying everything from groceries to grandchildren.
- Step-by-Step Instructions:
- Sit or stand with your feet on the center of a tube band, about shoulder-width apart.
- Hold a handle in each hand with your arms extended down at your sides, palms facing forward.
- Keeping your elbows pinned to your sides, curl the handles up toward your shoulders.
- Squeeze your biceps at the top, then slowly lower the handles back down.
- Modification/Tip: Perform this exercise one arm at a time to really focus on your form and prevent your stronger side from taking over.
7. Pallof Press (Seated or Standing)
- What It Helps: This is a phenomenal anti-rotation exercise that builds deep core stability, which is essential for balance and protecting your spine.
- Step-by-Step Instructions:
- Anchor a tube band at chest height to a sturdy object (like a doorknob in a closed door).
- Stand or sit sideways to the anchor point. Grab the handle with both hands and hold it at the center of your chest.
- Step away from the anchor until there is tension on the band. Engage your core.
- Slowly press the handle straight out in front of your chest until your arms are fully extended. The band will try to pull you back; your job is to resist the rotation.
- Hold for a second, then slowly bring the handle back to your chest. Complete all reps facing one way, then switch sides.
- Modification/Tip: The further you step away from the anchor point, the more challenging the exercise will be. Start close and gradually increase the distance.
Putting It All Together: Your Weekly Resistance Band Routine
Consistency is where the real transformation happens. Having a clear plan removes the guesswork and makes it easy to build a powerful, sustainable habit. Here’s how to structure your week for maximum benefit.
How Often?
Aim to perform this full-body resistance band workout 2-3 times per week on non-consecutive days. This schedule gives your muscles the time they need to recover and grow stronger. Rest days are just as important as workout days for building strength and preventing injury.
How Many Reps?
When you're just starting out, focus on mastering the form. Begin with 1 set of 10-12 repetitions for each exercise. Once you can comfortably complete that with good form, progress to 2 sets, and eventually 3 sets, before considering moving up to a band with more resistance.
| Day | Activity | Focus |
|---|---|---|
| Monday | Resistance Band Full-Body Workout | Strength & Joint Stability |
| Tuesday | Active Recovery (e.g., Walking, Yoga) | Mobility & Blood Flow |
| Wednesday | Resistance Band Full-Body Workout | Strength & Progressive Overload |
| Thursday | Active Recovery (e.g., Stretching) | Flexibility & Recovery |
| Friday | Resistance Band Full-Body Workout (Optional) | Strength & Consistency |
| Saturday | Active Recovery (e.g., Gardening) | Light Movement & Enjoyment |
| Sunday | Rest | Full Recovery |
Don't Forget to Cool Down
After your last repetition, don't just stop. Spend 5-10 minutes performing gentle stretches for the muscles you just worked. This helps improve flexibility, reduce post-workout soreness, and signal to your body that it's time to begin the recovery process. For a deeper dive, learn how to create a balanced strength training program that combines resistance and flexibility.
Conclusion: Embrace Your Strength at Any Age
Feeling strong, stable, and mobile isn't a privilege reserved for the young. It is your right, and it is absolutely within your reach. Resistance bands are more than just pieces of elastic; they are a safe, effective, and incredibly accessible tool to help you reclaim your power and protect your independence.
Adding resistance bands for seniors into your routine isn't just about exercise; it's about investing in your confidence, your freedom, and your vitality for all the years to come. You don't have to accept stiffness and weakness as an inevitable part of aging. You have the power to build a stronger, more mobile future, one stretch at a time.
Call to Action
What's your biggest challenge when it comes to staying active? Share with us in the comments below—we'd love to help!
Ready for more age-friendly fitness tips? Sign up for the FitOverFifty newsletter and get our best advice delivered straight to your inbox.